• Updated 2023-07-12: Hello, Guest! Welcome back, and be sure to check out this follow-up post about our outage a week or so ago.

davidg5678's Computer Finds

davidg5678

Well-known member
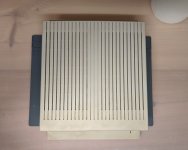
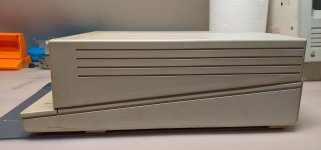
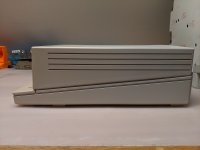
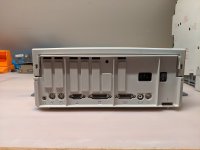
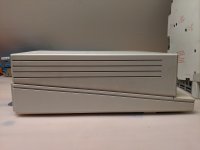
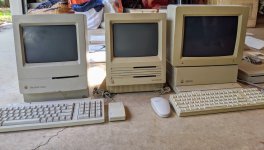
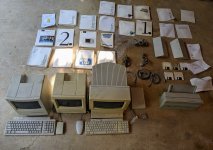
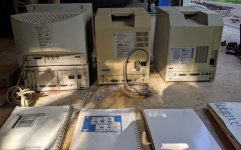
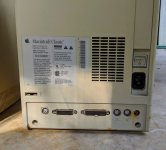
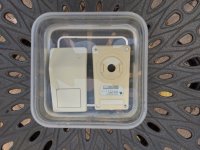
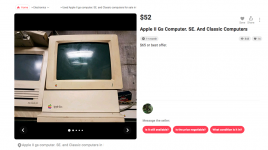
I came across this listing on letgo a few days ago a knew I had found a deal worth looking at. The seller was offering an Apple IIgs, a Macintosh SE, and a Macintosh Classic for all of $52. After a few hours on the road, I have returned with three computers to work on along with a pile of documentation, software, and accessories. I am particularly excited about the Apple IIgs, as I have always wanted to use an Apple II, but have never seen one for sale before anywhere near my area. The Classic has what looks to be some battery leakage residue on the rear case, so I'm not sure about whether or not it will be salvageable. --I'll have to open it up and see what happened... All of the computers are dirty and in need of a cleaning, but they appear to be in good enough shape otherwise. I was able to verify that luckily, the battery did has not yet leaked inside of the IIgs.

Now to fix and sort all of the computers!!! 

Screen Shot 2019-09-22 at 3.59.33 PM.pngIMG_20190922_154029.jpgIMG_20190922_154012.jpgIMG_20190922_154039.jpgIMG_20190922_154236.jpg


davidg5678

Well-known member
I have finished cleaning up the Apple IIgs which works perfectly (as far as I can tell).

Before cleaning, the computer was covered in a thick (and difficult to remove) layer of dirt.
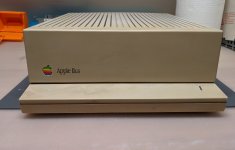
IMG_20190922_182638.jpg

IMG_20190922_182649.jpg

IMG_20190922_182704.jpg

There is an unusual bulge in the back of the plastic housing here, but I am not sure how it was made.
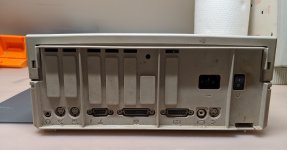
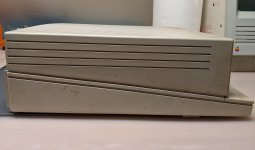
IMG_20190922_182717.jpg

IMG_20190922_182724.jpg

I began the cleaning process by removing the top cover from the computer and taking out the power supply and memory expansion.
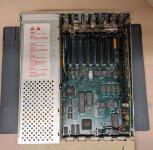
IMG_20190922_182831-min.jpg

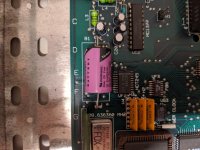
Luckily, the clock battery had not leaked inside the computer, but I removed it anyway to be safe. It was manufactured in May of 1988.
IMG_20190922_182909-min.jpg

After this, I removed the motherboard from the computer and set it aside. The amount of dirt on the outside of the computer made it difficult to clean with just paper towels and cleaning spray, so I decided to completely disassemble the machine and use soapy water. I removed the motherboard from the bottom housing and then used flush-cut snips to clip off the plastic tabs holding in the metal shielding. I did this because there was a ton of dirt underneath the shields which I need to remove. Additionally, I did not want any water to get trapped underneath the metal and cause it to rust. Once all of the metal was removed from the case, I was left with three pieces of plastic. I rinsed each of these with hot water and dish soap inside a utility sink. I found a very useful small paintbrush to break up dirt trapped inside of the decorative lines and around the ports while I was cleaning them.

This process left the computer looking very clean, and after drying the plastic, I put the machine back together. Beforehand, I had used a brush to remove loose dirt from the surprisingly clean motherboard. The metal shields snapped back onto the pegs that they were previously secured under even after I had cut them, so I did not need to do anything to repair the missing plastic. The shielding was still securely held in place and it even held up to being shaken. 

After cleaning:

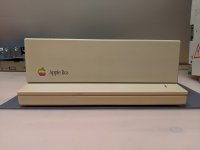
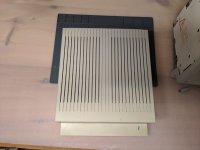
The computer still has some minor dirty areas which I'll need to clean up later, but it looks much better than it did before. I was able to follow a similar process to clean the external floppy drive with the obvious addition of cleaning and relubricating the drive mechanism.
IMG_20190922_224704-min.jpg

IMG_20190922_224722-min.jpg

IMG_20190922_224731-min.jpg

IMG_20190922_224745-min.jpg

IMG_20190922_224754-min.jpg

Next up are the mouse, keyboard, and monitor!
 

davidg5678

Well-known member
I have now (more or less) completed the task of cleaning up the remaining peripherals. The keyboard was by far the most difficult to clean aspect of the project due to the irregular shape of the keys, and so it took the most time to restore. Otherwise, everything went fairly smoothly.

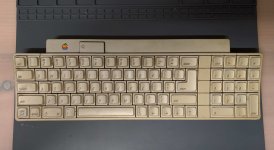
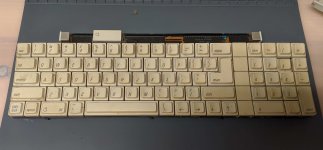
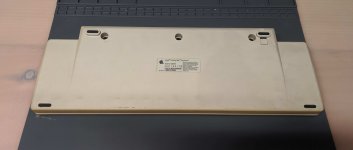
Keyboard before cleaning:

IMG_20190928_120543.jpeg

IMG_20190928_120620.jpeg

IMG_20190928_120628.jpeg

IMG_20190928_120637.jpeg

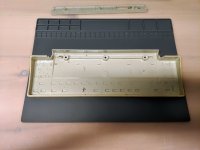
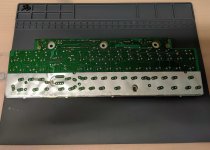
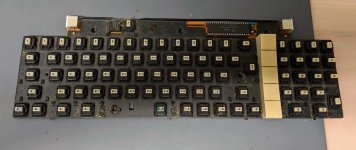
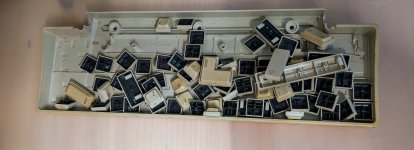
As you can see, quite a large amount of dirt built up between the keys of the keyboard, so it was necessary to completely disassemble and clean the entire unit. Once inside, I discovered yet more dirt which had fallen under the PCB. I separated each component for deep cleaning.

IMG_20190928_120757.jpeg

IMG_20190928_120807.jpeg

IMG_20190928_120821.jpeg

IMG_20190928_121208.jpeg

In order to get the keycaps cleaned, I decided to use the same hot and soapy water method as before, so I carefully removed each and every keycap and placed them inside the bottom plastic shell. I let the keys soak for a while and then scrubbed each and every key individually to remove the grime. It took over an hour of scrubbing before I was able to get everything clean. The main plastic housing cleaned up without any trouble.

IMG_20190928_121823.jpeg

IMG_20190928_121825.jpeg

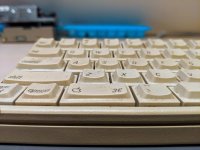
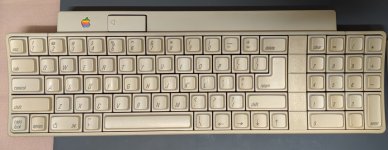
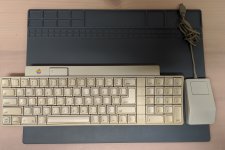
After drying everything off, I reassembled the keyboard. It looks and feels MUCH better to type on; however, I discovered that the keyswitches for the left shift key and the number pad's nine key were broken. The white plastic plunger had cracked and caused the switches to not be as springy as the others. I was able to find replacement parts for sale, and I plan to replace the broken mechanisms. I also plan to retrobrite the entire keyboard in the future although submerging so many keycaps may prove difficult.

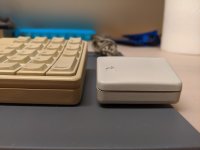
After cleaning:

IMG_20190930_091233.jpg

Stay tuned for photos of restoring the mouse and monitor!
 
Last edited by a moderator:

Mighty Jabba

Well-known member
Nice job on the cleaning, and that was quite a deal! Amazing how a lot of these machines can get so dirty though.
 

davidg5678

Well-known member
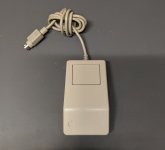
Here are some photos of the restoration of the ADB Mouse:

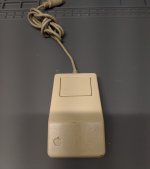
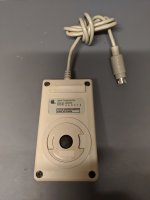
Mouse before cleaning and retrobrite:

IMG_20190929_115220.jpeg

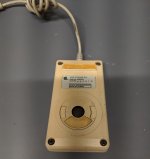
The adhesive meant to secure the smooth plastic strips on the bottom shell had turned a dark shade of brown, and the bottom of the mouse was significantly yellower than the top. (Also notice the color difference between the bottom housing and its label.)

IMG_20190929_115233.jpeg

In order to restore this mouse, I had to disassemble the housing and clean both halves thoroughly with cleaning spray. (The mouse was small and simple enough that soapy water was not necessary.) After this, I pried up the friction-reducing strips from the bottom of the shell and scrubbed them with isopropyl alcohol until all of the brown adhesives were removed. (I then replaced the adhesive with some double-sided tape) I also used isopropyl alcohol on a paper towel to clean the dirt from the cable. Once this was done, I decided I would retrobrite the plastic. I have not had much success retrobriting before, but because of the small size of the mouse, I was able to completely submerge it in hydrogen peroxide from the drugstore. I kept it underneath some UV lamps for about 18 hours, and I am very pleased with the results.

IMG_20190929_152637.jpeg

After cleaning/restoration:

IMG_20191009_161916.jpeg

IMG_20191009_162009.jpeg

IMG_20190930_091246.jpeg

IMG_20190930_091233.jpeg

 
Top