Byrd
Well-known member
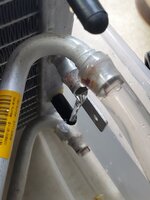
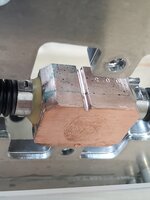
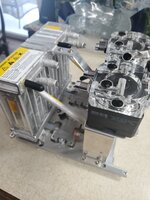
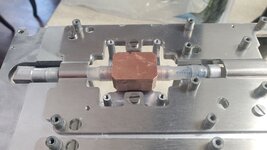
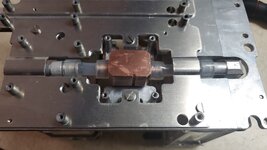
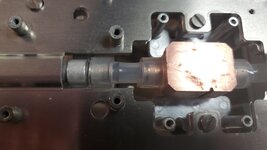
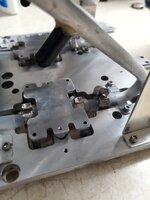
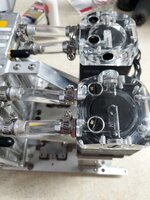
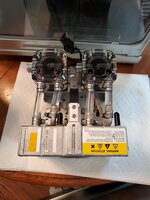
It's pretty impressive! I'd be happy to see how you managed to attach the heatsinks.
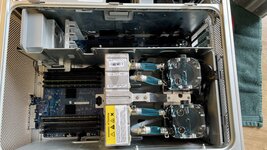
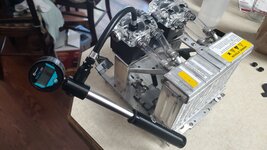
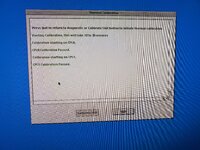
Will post up a new thread soon once I'm happy, as the experiment needs more work. I used the existing 4-pronged clamp (that used to hold the waterblock), modified slightly to clamp down the new heatsink securely and equally over the core. I'm unable to calibrate using AHT - the software throws an error about max core temp being reached, even though it's sitting at 30 - 35 deg C idle. Under load, the fans kick up too high while the temps don't go above 60 degrees. Makes me think that perhaps a basic AIO cooler x 2 (now that there is space to mount a block) might be suitable to cope with the heat soakage. But at present it never crashes, no LED errors, and I can actually use the Quad happily and relatively quietly.
Last edited: