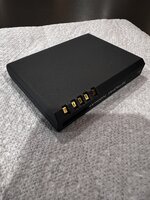
The pinout order is:
BATT(+)
Thermistor
GND
1-Wire ID chip
BATT(-)
So - A is the thermistor (so the Duo can read the battery temperature as part of the charging algorithm), B is the DS2400 ID chip, and there should be two fuses inline with the cells (C is one of them, there should be another one at the other end of the cell chain.
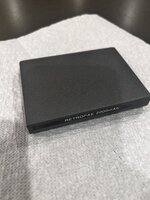
If you’re doing a rebuild, I’d reuse all of the components and except the old cells. The ID chip has the battery serial number and the battery Type (1, 2, or 3), which allows the Duo to use the correct charge algorithm and to calculate the battery power remaining properly. Your rebuilt battery will almost certainly give you wrong results for battery state of charge and discharge time remaining, since the cell characteristics are different than the originals.


")