Original thread for this machine in Conquests:
This is the restoration thread for my Power Mac G4 with Sonnet 1.6 GHz upgrade that I recently acquired from eBay.
The stock speed of this machine was 400MHz. It has been upgraded to 1.5 GB RAM by the previous owner. No hard drives are in the machine yet.
When I received the machine, it was not in the best of condition (cosmetically), but most of this was just because it hadn't been cleaned for a long time by the looks of it.
What I'm doing to begin with is cleaning, I don't like working on a dirty machine so this is my first priority, upgrades and further changes can come later.
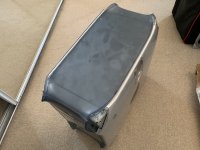
Typical dirt under the top cover, no idea how this happens but it seems to be a common problem.
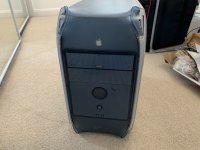
The front panel, not too bad:
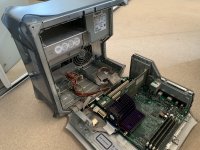
Inside, typical dirt
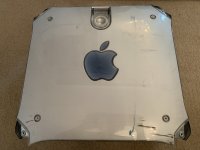
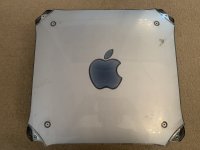
Side panels have seen better days, but most of this is just light surface marks although some of the scratches are deep.
The real reason I bought the machine, the Sonnet Encore GT upgrade:
I did a power on test, and the machine boots from a Tiger disc OK - System profiler confirms the RAM / CPU specs I've mentioned above. I can't go further than that until I get some storage for the machine.
So, onto the cleaning. I started at 11AM today and finished at 3.30PM, to completey disassemble and clean everything and then reassemble the machine.
Top cover removed to clean that first...
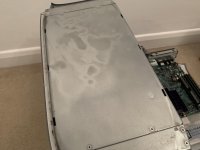
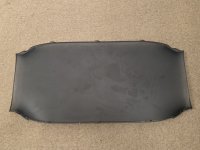
Afterwards:
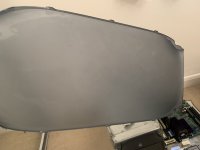
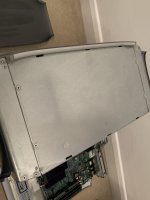
The state I received the bottom covers and handles in:
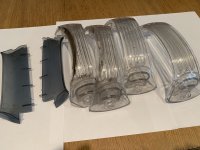
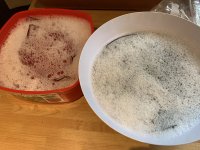
I didn't want to spend ages scrubbing the handles, so I soaked them in hot water and detergent
Someone wrote 'M' in permanent marker on the back...ugh
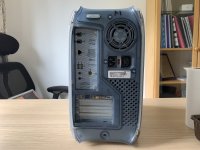
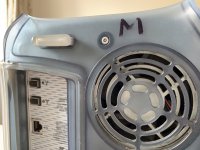
Dirt, dirt everywhere
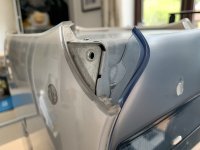
Inside, things don't improve...
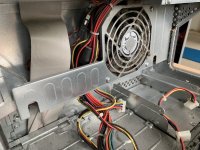
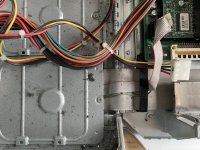
OK, it was then time to remove the first side panel. The fan assembly has to be removed first. There are plastic clips behind the fan assembly which need to be pushed inwards to release the side panel. This was a little tricky but they eventually loosened up - and they didn't break!
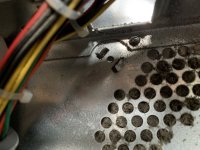
It's not surprising, but the vents don't have lots of room so dust gets stuck easily over time.
Back of the side panel:
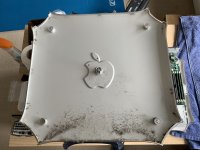
Don't worry fan, you'll get some attention soon...
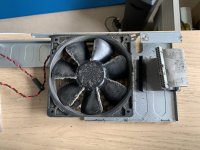
With the back cover removed, the Mac starts to look more naked...
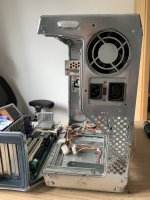
Front panel removed from... the front:
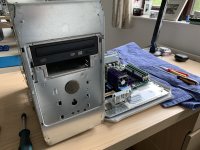
The chassis is very roomy when there's nothing in there...
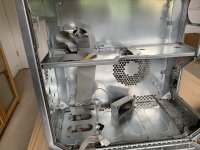
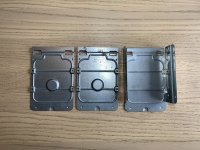
Drive caddys needed a good wipe down
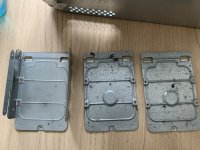
I made some progress with the permanent marker, but got bored of scrubbing, so this is where it's up to now...
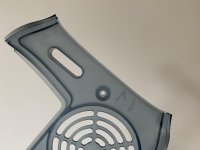
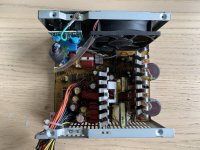
I took the cover off the PSU to inspect it. No surprises here, it looks pretty clean and there's no obvious sign of any imminent component failure. I gave it a quick clean, took the fan out to clean it, and put it back together. This won't be recapped for now as it seems fine.
All the things were cleaned...
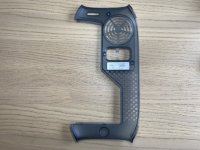
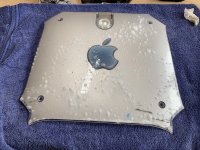
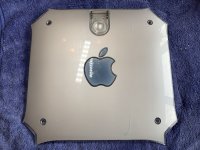
The side panels were a little challenging, but I did make some improvement to them...Tooth paste worked the best for removing the stubborn scuff marks.
Before:
D
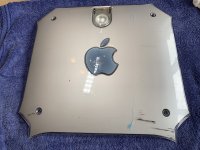
During:
After. I couldn't remove the blue marks - one to tackle another day.
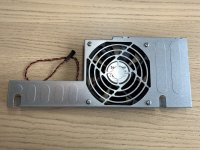
Getting closer now... I took apart the CPU fan assembly to clean it. This is a silly little fan which makes too much noise - I will work something out to improve this later.
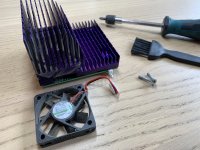
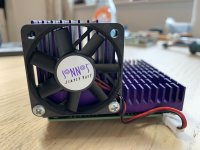
Ahhh, this is better...
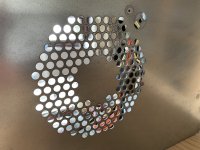
Things going back in:
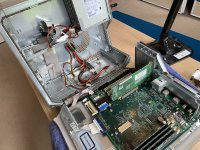
I'm pleased with it for now, pretty handsome...
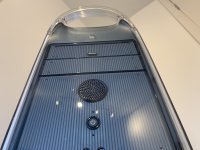
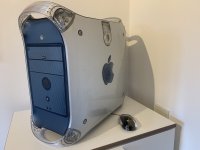
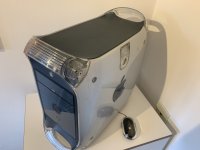
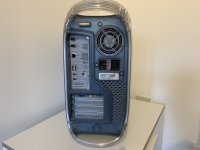
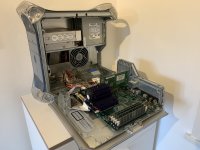
So, what's next for this machine?
An 80GB IDE hard drive is meant to be arriving in the post next week, and I should have a compatible OS 9 install disc by then too (I found some original Power Mac G4 discs and a manual on eBay).
Longer term plans...
- A 2nd IDE drive? Dual boot OS 9 / OS X
- SATA card / SATA SSD
- Better fans
- Recap logic board
- Work out what to use it for, except for it looking very pretty under my desk
Thanks for reading
This is the restoration thread for my Power Mac G4 with Sonnet 1.6 GHz upgrade that I recently acquired from eBay.
The stock speed of this machine was 400MHz. It has been upgraded to 1.5 GB RAM by the previous owner. No hard drives are in the machine yet.
When I received the machine, it was not in the best of condition (cosmetically), but most of this was just because it hadn't been cleaned for a long time by the looks of it.
What I'm doing to begin with is cleaning, I don't like working on a dirty machine so this is my first priority, upgrades and further changes can come later.
Typical dirt under the top cover, no idea how this happens but it seems to be a common problem.

The front panel, not too bad:

Inside, typical dirt


Side panels have seen better days, but most of this is just light surface marks although some of the scratches are deep.
The real reason I bought the machine, the Sonnet Encore GT upgrade:
I did a power on test, and the machine boots from a Tiger disc OK - System profiler confirms the RAM / CPU specs I've mentioned above. I can't go further than that until I get some storage for the machine.
So, onto the cleaning. I started at 11AM today and finished at 3.30PM, to completey disassemble and clean everything and then reassemble the machine.
Top cover removed to clean that first...


Afterwards:


The state I received the bottom covers and handles in:

I didn't want to spend ages scrubbing the handles, so I soaked them in hot water and detergent

Someone wrote 'M' in permanent marker on the back...ugh


Dirt, dirt everywhere

Inside, things don't improve...


OK, it was then time to remove the first side panel. The fan assembly has to be removed first. There are plastic clips behind the fan assembly which need to be pushed inwards to release the side panel. This was a little tricky but they eventually loosened up - and they didn't break!

It's not surprising, but the vents don't have lots of room so dust gets stuck easily over time.
Back of the side panel:

Don't worry fan, you'll get some attention soon...

With the back cover removed, the Mac starts to look more naked...

Front panel removed from... the front:

The chassis is very roomy when there's nothing in there...

Drive caddys needed a good wipe down

I made some progress with the permanent marker, but got bored of scrubbing, so this is where it's up to now...

I took the cover off the PSU to inspect it. No surprises here, it looks pretty clean and there's no obvious sign of any imminent component failure. I gave it a quick clean, took the fan out to clean it, and put it back together. This won't be recapped for now as it seems fine.

All the things were cleaned...


The side panels were a little challenging, but I did make some improvement to them...Tooth paste worked the best for removing the stubborn scuff marks.
Before:
D

During:

After. I couldn't remove the blue marks - one to tackle another day.

Getting closer now... I took apart the CPU fan assembly to clean it. This is a silly little fan which makes too much noise - I will work something out to improve this later.


Ahhh, this is better...

Things going back in:

I'm pleased with it for now, pretty handsome...


So, what's next for this machine?
An 80GB IDE hard drive is meant to be arriving in the post next week, and I should have a compatible OS 9 install disc by then too (I found some original Power Mac G4 discs and a manual on eBay).
Longer term plans...
- A 2nd IDE drive? Dual boot OS 9 / OS X
- SATA card / SATA SSD
- Better fans
- Recap logic board
- Work out what to use it for, except for it looking very pretty under my desk
Thanks for reading
Last edited by a moderator:
