ronan
Well-known member
Hi everyone,
I love my Alps M0116 keyboard and I have been using it daily for more than one year now.
When I was trying to find a decent ADB to USB converter I was shocked by the price. So after searching the internet I found out that the QMK firmware (that you'll know if you already built some mechanicals keyboards on you own) had support for adb keyboard !
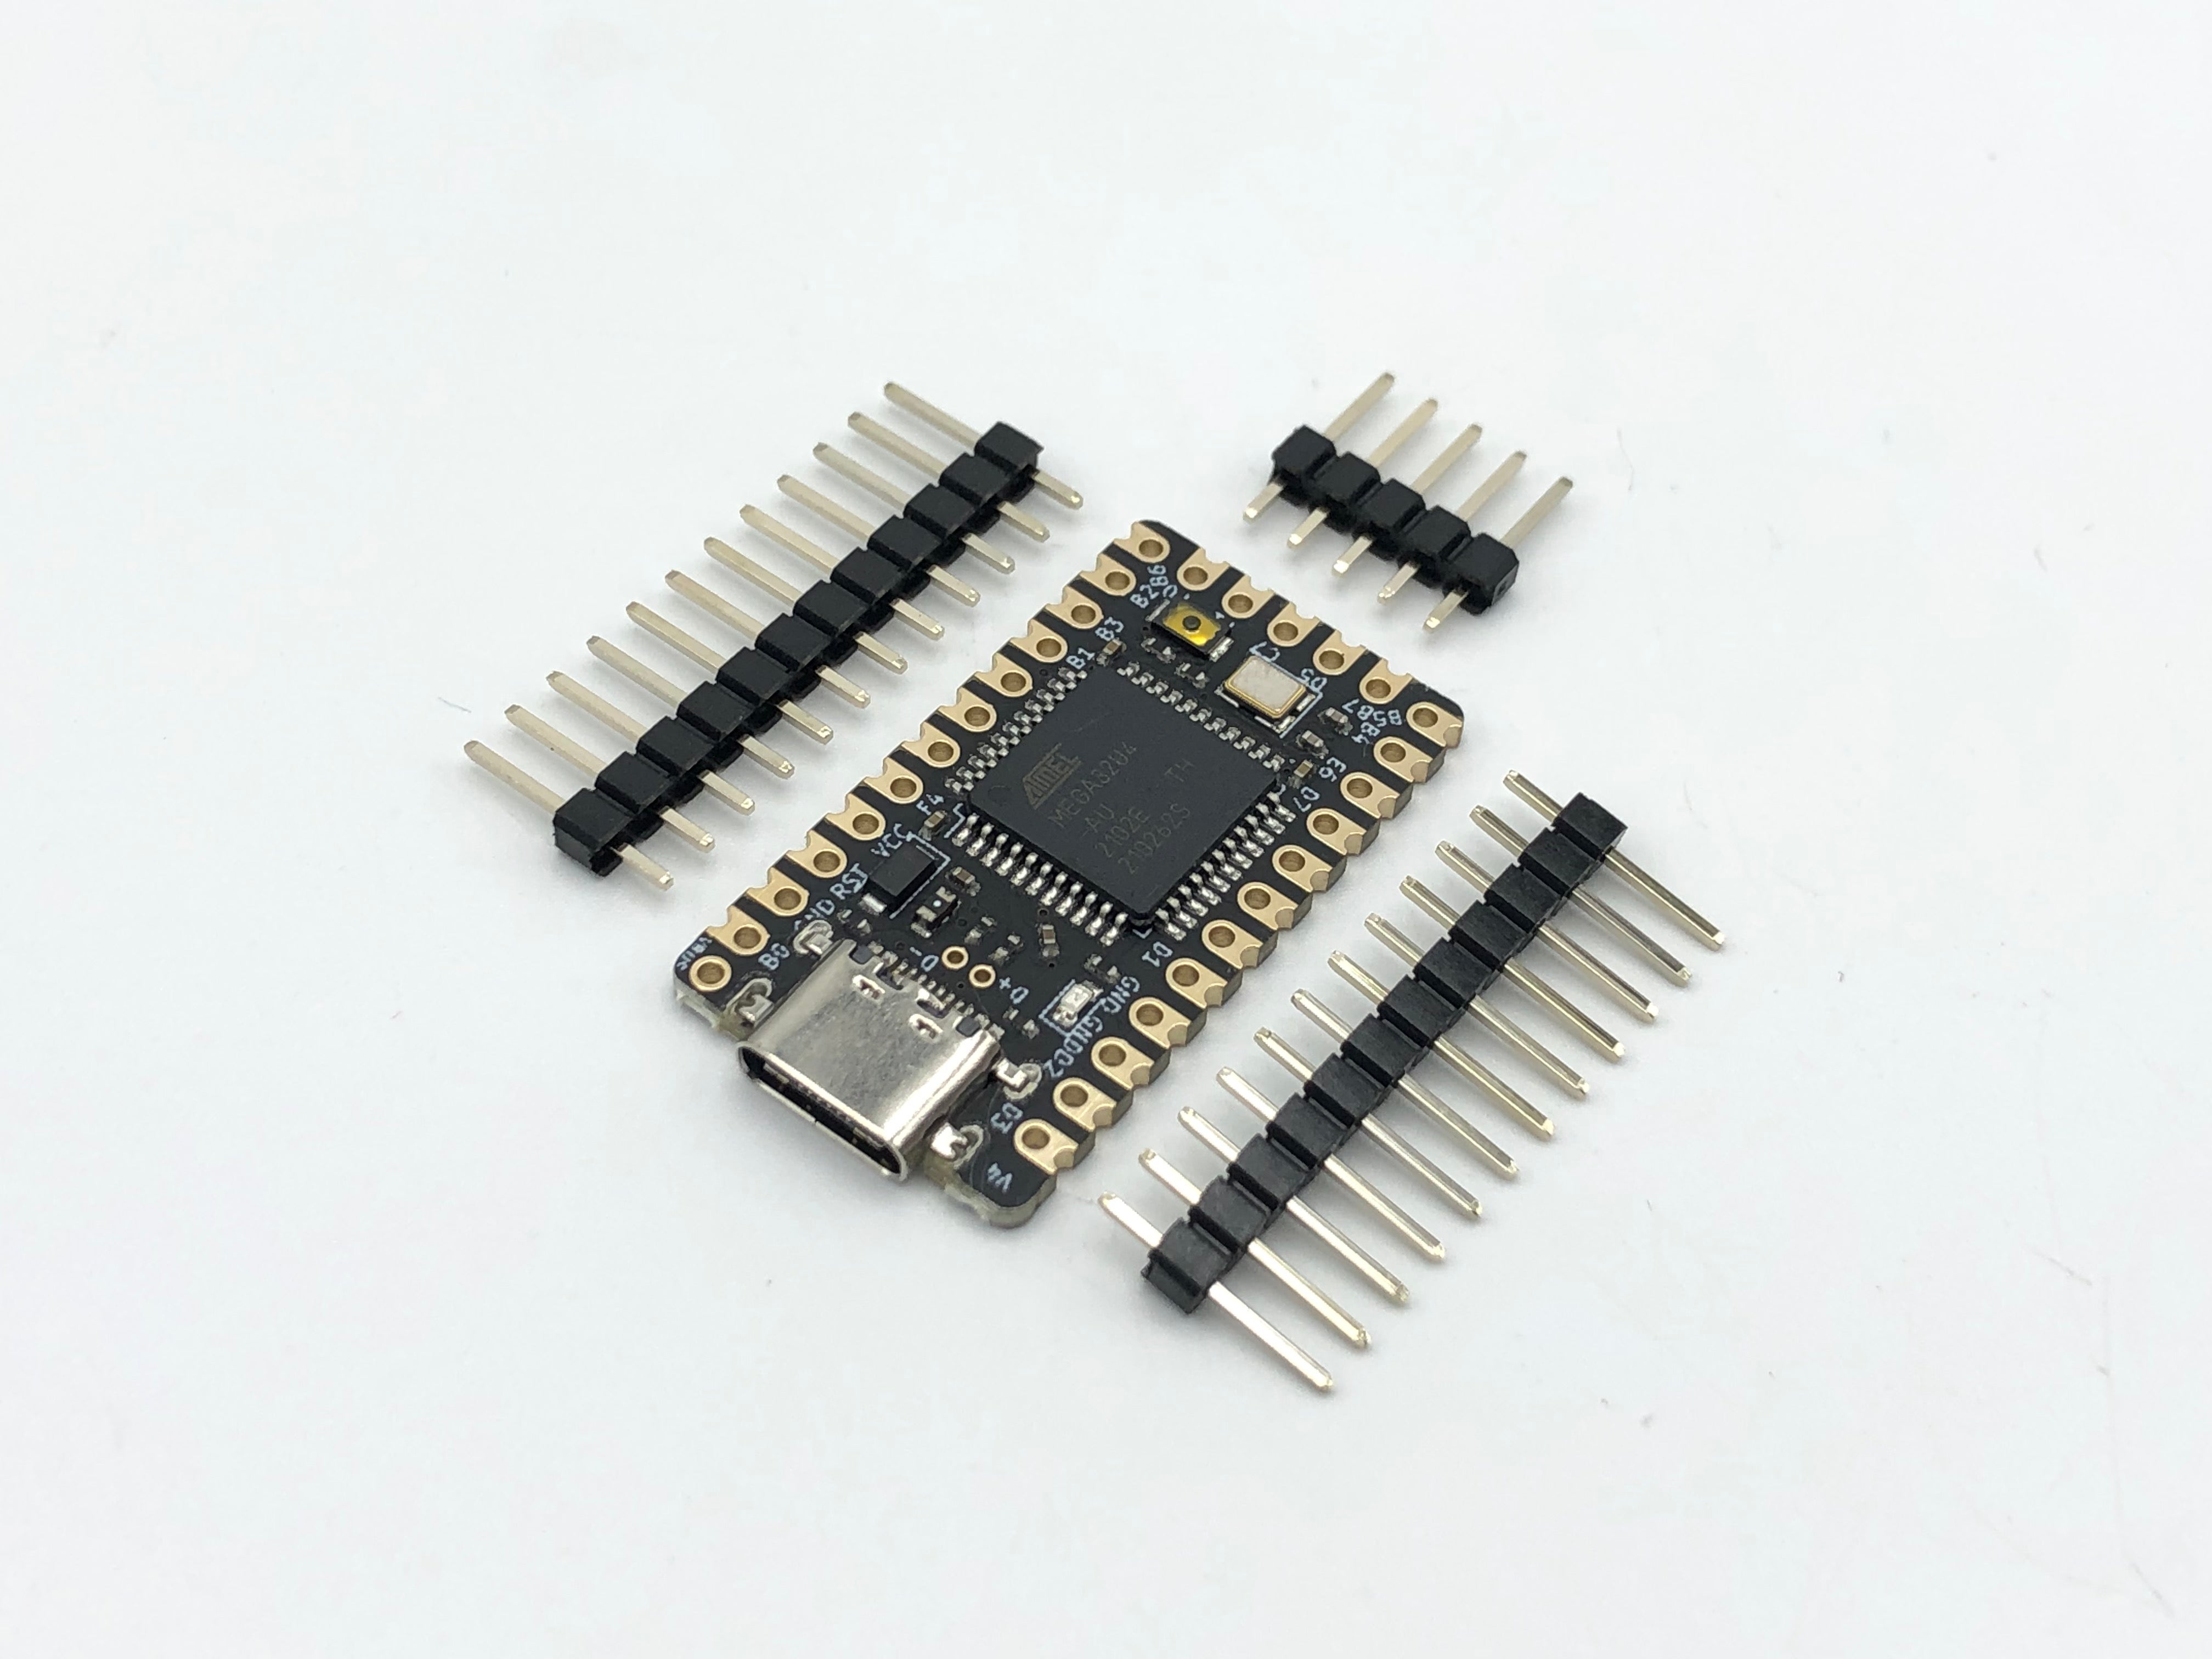
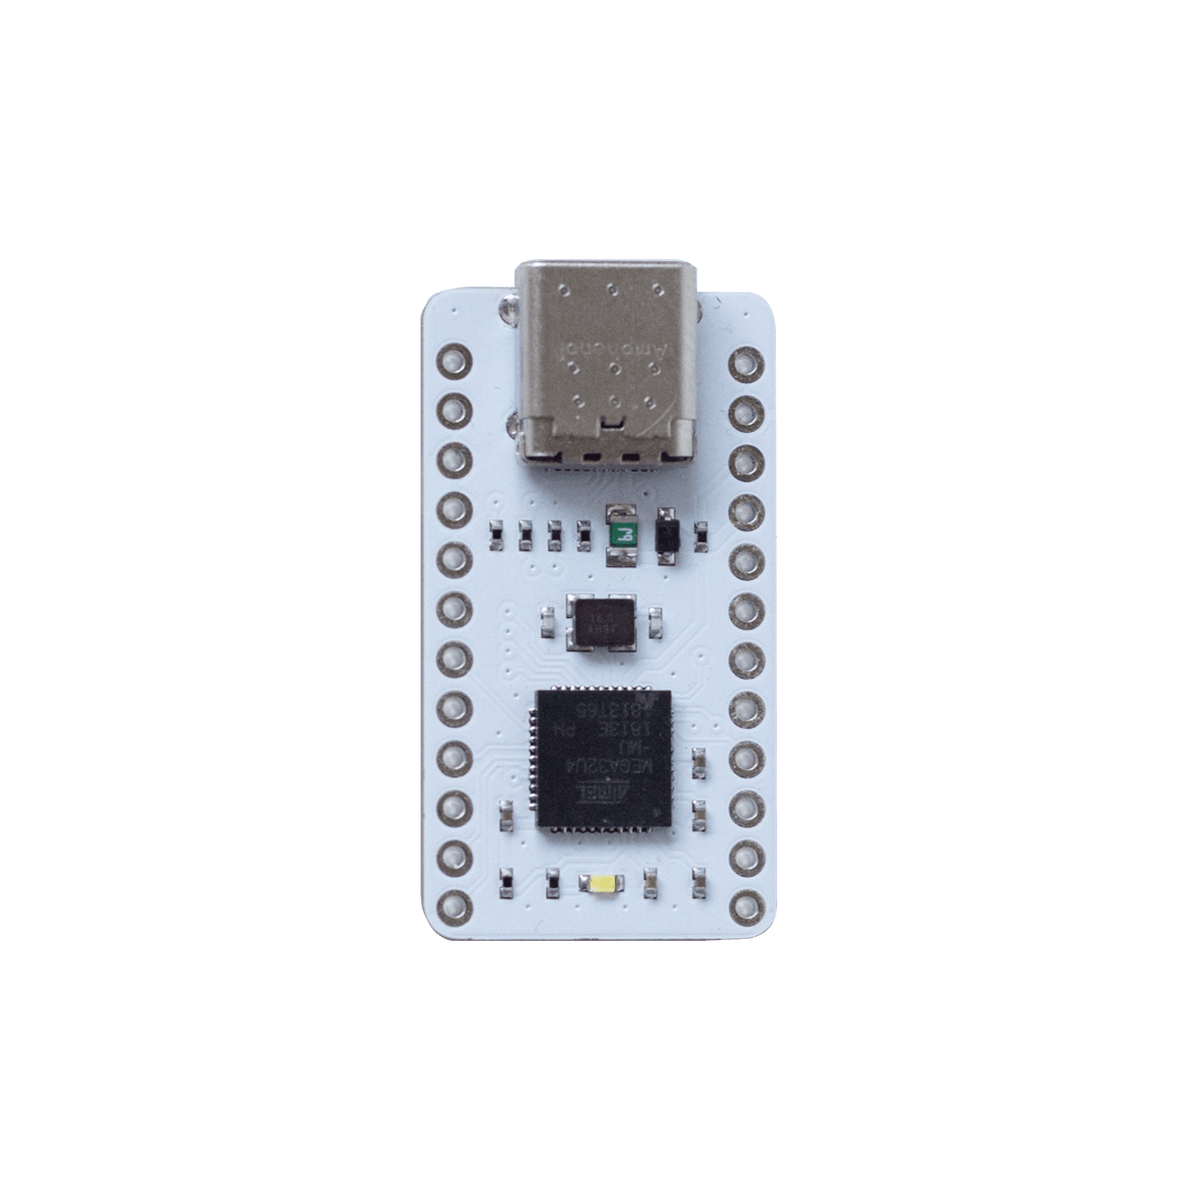
So I bought an Arduino Pro Micro and a flashed it with this custom firmware and I was good to go. But for more than one year I was struggling because there was three wires between the pro micro and the adb connector flying and always disconnecting. So I finally got to create a small and simple PCB to clean this up and here it is")
Here are the KiCad files : https://github.com/ronangaillard/adb2usb
You can order it on JLCPCB for instance (around 4.50$ including shipping for 5 pcbs).
The Pro Micro is worth around 10$, and you'll just need a resistor of between 1k and 10k to solder on the PCB (through hole to make things simpler for everyone).


For the first time you will have to flash the DFU bootloader to your Pro Micro with this doc : https://beta.docs.qmk.fm/using-qmk/guides/keyboard-building/isp_flashing_guide
You then need to install QMK :
For Mac OS :
And then build firmware with :
And then flash Pro Micro with :
And you're good to go !
A really cool thing with QMK is that you can personalize your keyboard mapping very easily, for instance I remapped the "Power key" at the top of the keyboard to a Play/Pause key.
This was a really quick post about my little project, don't hesitate to ask for anything that wasn't clear !
Ronan
I love my Alps M0116 keyboard and I have been using it daily for more than one year now.
When I was trying to find a decent ADB to USB converter I was shocked by the price. So after searching the internet I found out that the QMK firmware (that you'll know if you already built some mechanicals keyboards on you own) had support for adb keyboard !
So I bought an Arduino Pro Micro and a flashed it with this custom firmware and I was good to go. But for more than one year I was struggling because there was three wires between the pro micro and the adb connector flying and always disconnecting. So I finally got to create a small and simple PCB to clean this up and here it is
Here are the KiCad files : https://github.com/ronangaillard/adb2usb
You can order it on JLCPCB for instance (around 4.50$ including shipping for 5 pcbs).
The Pro Micro is worth around 10$, and you'll just need a resistor of between 1k and 10k to solder on the PCB (through hole to make things simpler for everyone).
For the first time you will have to flash the DFU bootloader to your Pro Micro with this doc : https://beta.docs.qmk.fm/using-qmk/guides/keyboard-building/isp_flashing_guide
You then need to install QMK :
For Mac OS :
Code:
brew install qmk/qmk/qmkAnd then build firmware with :
Code:
qmk compile -kb converter/adb_usb -km defaultAnd then flash Pro Micro with :
Code:
qmk flash -kb converter/adb_usb -km defaultAnd you're good to go !
A really cool thing with QMK is that you can personalize your keyboard mapping very easily, for instance I remapped the "Power key" at the top of the keyboard to a Play/Pause key.
This was a really quick post about my little project, don't hesitate to ask for anything that wasn't clear !
Ronan