Hey guys,
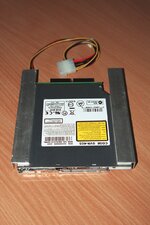
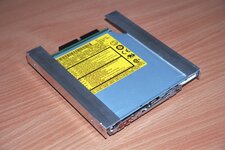
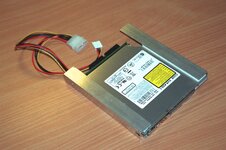
I am sure I am not the first to do this, so I am sure you can help: Is there a replacement optical drive and 3D printable bracket for the G4 cube?
This rather old site suggests a Panasonic UJ-845-C:
www.atpm.com/12.03/cube.shtml
The drive seemingly was obtainable as new back when the site was made. Today it can be only obtained through ebay if at all. But there are other slot-in drives that might fit, either IDE drives or with an IDE->SATA adapter.
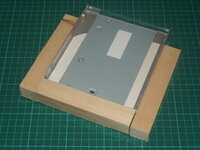
And are there any suitable brackets available to be 3D printed?
Thanks and happy Easter holidays!
CK
P.S.: I have tried to repair the original drive, replacing the belt and cleaning the rubber bar but it still doesn't work :-(.


