• Updated 2023-07-12: Hello, Guest! Welcome back, and be sure to check out this follow-up post about our outage a week or so ago.

Duo 270c - Yay or nay?

Garrett

Well-known member
Out of curiosity, what kind of capacitors did you use?, did you replace the electrolytics like for like? 
I've only recapped one of my two current compact Macs so far, the 1991 Macintosh Classic. Fellow 68kMLA member JRL recapped the logic board, and Thomas at @Amiga of Rochester recapped the analog board. I *believe* Jeff used tantalum caps on the logic board, while the analog board obviously uses electrolytic caps.

Getting the logic board out to do the caps isn’t bad at all. The most important thing is to get the latch inside the battery compartment (on the front left inside of the battery compartment) unhooked, and you can see that one and use your fingers to get pressure in the right place. Fortunately you don’t need to take the center clutch cover off in order to get the logic board out - that one is a pain. For the logic board you can remove the CPU stiffener and display assembly as one piece. You only need to remove the center clutch cover if you need to disassemble the display or take the display off the CPU stiffener.

I have the service source documentation for the 200 series duos, including disassembly instructions. PM me if you want a copy.


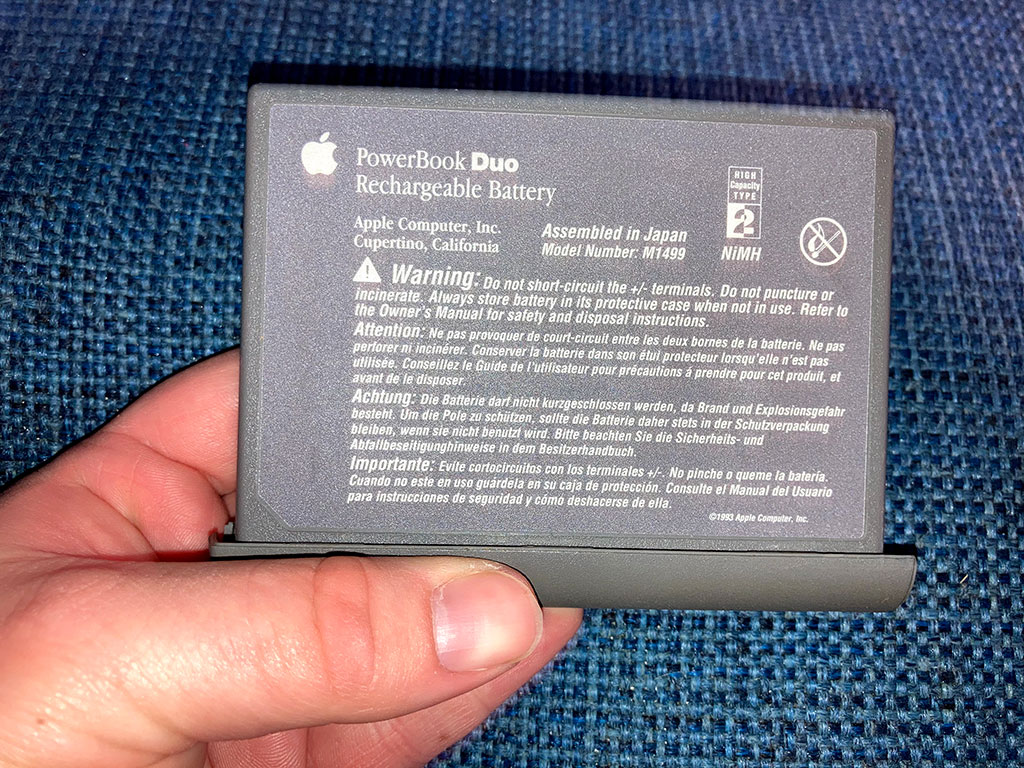
I’ll try to post some notes tomorrow on building a new PRAM battery.
Thanks for the advice. I will probably ship the entire machine off to be recapped when that happens, but it is helpful to know how to disassemble the machine, as that will come in handy for installing the new PRAM battery. If you can, please do send the source documentation.

What options are there for solid-state/flash storage in these PowerBook Duos?


LaPorta

Well-known member
Last edited by a moderator:

androda

Well-known member
What options are there for solid-state/flash storage in these PowerBook Duos?
Basically only the scsi2sd right now. Not sure if the macsd has PowerBook sized versions.

I'm working on a PowerBook sized ardscsino, just ordered my first set of test boards and connectors. So it'll be something like a month or two before I can test it. The ardscsino is slower than scsi2sd but also substantially cheaper to make yourself. If the test boards work in my 180 and duo 280c, I'll start producing them to sell and release the board files to the group.


Challenger 1983

Well-known member
Basically only the scsi2sd right now. Not sure if the macsd has PowerBook sized versions.

I'm working on a PowerBook sized ardscsino, just ordered my first set of test boards and connectors. So it'll be something like a month or two before I can test it. The ardscsino is slower than scsi2sd but also substantially cheaper to make yourself. If the test boards work in my 180 and duo 280c, I'll start producing them to sell and release the board files to the group.
This would be amazing, I would love to replace the HD in my 270c


Garrett

Well-known member
Basically only the scsi2sd right now. Not sure if the macsd has PowerBook sized versions.

I'm working on a PowerBook sized ardscsino, just ordered my first set of test boards and connectors. So it'll be something like a month or two before I can test it. The ardscsino is slower than scsi2sd but also substantially cheaper to make yourself. If the test boards work in my 180 and duo 280c, I'll start producing them to sell and release the board files to the group.
My fear is the lack of replacement drives, since I know the internal hard drive may or may not work. It would be awesome if you're able to get the ardscsino to work.


mdeverhart

Well-known member
PRAM battery fabrication:

I ordered 2x of these from Amazon. They’re 3V lithium rechargeables, with solder tabs to make the job a little easier, and hopefully keep too much heat from the soldering iron from reaching the cells.

https://www.amazon.com/dp/B07W4NWHJ8/

The first image shows the battery I took out of the machine. The red wire is connected to the positive (+) terminal of the top battery, the white wire is connected to the negative (-) terminal of the top battery and the (+) terminal of the bottom battery, and the black wire is connected to the (-) terminal of the bottom battery. I desoldered the wiring harness to reuse for the new battery.

I bent the solder tabs on the new batteries to put the stack together. The (+) terminal of the top battery got bent all the way over, and the (-) terminal got bent flat so that it (just barely) protruded out the side. The (+) terminal on the bottom battery got bent flat to make a long tongue, and the (-) terminal on the bottom battery got bent all the way over. Then, I soldered the (-) terminal on the top battery to the (+) terminal on the bottom battery, and finally resoldered all of the wires, with the white wire connected to the middle “tongue” and the red and black wires connected to their respective terminals. Some heat shrink tubing and Kapton tape finished it off.

Try not to hold the iron on the tabs too long as you’re soldering to them - you want as little heat as possible to get into the cells. Mine is working, but I suspect I was a little slow and may have shortened their life expectancy - but it’s hard to tell.

5AC52A7C-80BC-44CE-857C-7E3F5DD42A58.jpeg

E557E06C-3004-4DD9-A93D-6556B892A1B0.jpeg

CC15E855-E758-469D-B9F9-591CC7E02D86.jpeg

D45B2B1D-BD98-4451-989F-9C2338BD108B.jpeg


Challenger 1983

Well-known member
PRAM battery fabrication:

I ordered 2x of these from Amazon. They’re 3V lithium rechargeables, with solder tabs to make the job a little easier, and hopefully keep too much heat from the soldering iron from reaching the cells.

https://www.amazon.com/dp/B07W4NWHJ8/

The first image shows the battery I took out of the machine. The red wire is connected to the positive (+) terminal of the top battery, the white wire is connected to the negative (-) terminal of the top battery and the (+) terminal of the bottom battery, and the black wire is connected to the (-) terminal of the bottom battery. I desoldered the wiring harness to reuse for the new battery.

I bent the solder tabs on the new batteries to put the stack together. The (+) terminal of the top battery got bent all the way over, and the (-) terminal got bent flat so that it (just barely) protruded out the side. The (+) terminal on the bottom battery got bent flat to make a long tongue, and the (-) terminal on the bottom battery got bent all the way over. Then, I soldered the (-) terminal on the top battery to the (+) terminal on the bottom battery, and finally resoldered all of the wires, with the white wire connected to the middle “tongue” and the red and black wires connected to their respective terminals. Some heat shrink tubing and Kapton tape finished it off.

Try not to hold the iron on the tabs too long as you’re soldering to them - you want as little heat as possible to get into the cells. Mine is working, but I suspect I was a little slow and may have shortened their life expectancy - but it’s hard to tell.

View attachment 40021

View attachment 40029

View attachment 40030

View attachment 40031
Beautiful job on that P-RAM battery. the Duos are such great machines to work because of how simple they are, they also seem to be very reliable, as I've owned three of them and now have two docks (still looking for a minidock) all of which have had no major issues or failures, except my dock which won't mount it's internal hard-drive, but I'm sure that's just the drive itself and not the dock. at any rate these are great machines  


mdeverhart

Well-known member
@Challenger 1983 Thanks! I was happy with how it turned out. I don’t have a lot of mileage on my Duo yet, but I’m pleased so far. Disassembly sure is easy, especially compared to the horror stories about the 500 series PBs.

There’s a post in the Trading Post for a couple of Minidocks for sale, asking $100 each:


Challenger 1983

Well-known member
Thanks for the link,  I think that's a bit expensive for me right now, Maybe I'll look for a floppy adapter and disk drive instead 


glay78

Well-known member
Thanks for the link,  I think that's a bit expensive for me right now, Maybe I'll look for a floppy adapter and disk drive instead 
Hi I have the followings for sale. 
 

1. Apple MiniDock

2. Apple Floppy Adapter

3. Apple 3.5” 1.44mb floppy drive

All are working for PowerBook Duo.

Hit me a PM to discuss.


Garrett

Well-known member
I think it comes with the MicroDock already, but if I may hit you up @glay78

The seller reached out to me and told me she plugged the machine in and tried to power it on, but it wouldn't turn on. I hope she didn't fry the logic board as @mdeverhartwarned me about. We'll see tomorrow.


glay78

Well-known member
I think it comes with the MicroDock already, but if I may hit you up @glay78

The seller reached out to me and told me she plugged the machine in and tried to power it on, but it wouldn't turn on. I hope she didn't fry the logic board as @mdeverhartwarned me about. We'll see tomorrow.


The power board of the Duo may need recapping to power up again. It’s pretty common.


mdeverhart

Well-known member
Hopefully it’s not fried. My recollection is that the power button above the keyboard may not work if the PRAM battery is flat dead. At least on mine, the power manager wasn’t in a good state with a dead PRAM battery, and the power button above the keyboard just signals the power manager to turn on the system, rather than actually turning on the power supplies. The power button on the back will actually turn on the supplies, allowing the entire system (including the power manager) to boot even if the PRAM battery is dead. That could be what’s happening if the seller is pushing the power button above the keyboard instead of the one on the back.

I’d still recommend you not power it up until after its recapped, but it’s admittedly a bit of a gamble. I powered mine up when I first received it just to see if it was working and to poke around a bit, but I definitely tried to minimize the time it was on or plugged in until I had recapped it. The caps are almost certainly leaking, it’s just a question of how badly.


maceffects

Well-known member
It is risky to energize the Duo without recapping it, however, most often you have to use the little button in the back and try a few times and it will come back to life.  I doubt its dead.


Garrett

Well-known member
I'm sorry... I meant I'm worried that her trying to plug it in and turn it on may have fried the logic board. I won't be trying to power it on until I get it recapped.

I'll update this thread tomorrow night when I get back with some photos. If you follow me on Twitter I'll probably post a pic when I get it.


glay78

Well-known member
I'm sorry... I meant I'm worried that her trying to plug it in and turn it on may have fried the logic board. I won't be trying to power it on until I get it recapped.

I'll update this thread tomorrow night when I get back with some photos. If you follow me on Twitter I'll probably post a pic when I get it.
If it doesn’t power up lol try this. 
Smell at the tab and cap key area on the KB. If you smell smelly fishy smell, the caps are leaking. That’s for sure. 
 

I just recapped a MiniDock full of fishy leaky caps. They worked after that.


Garrett

Well-known member
Picked up the PowerBook Duo 270c yesterday. 70 mile drive to do a simple porch pickup.

It came with the power supply and a battery. Unfortunately, no docking station was included.  :(  
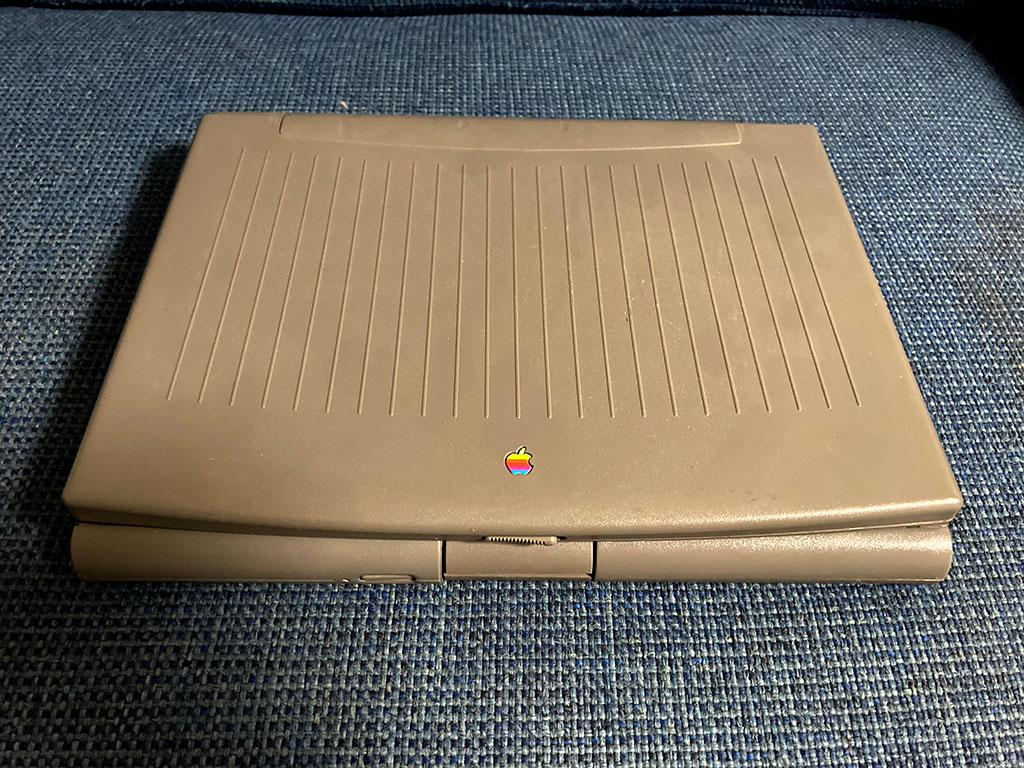
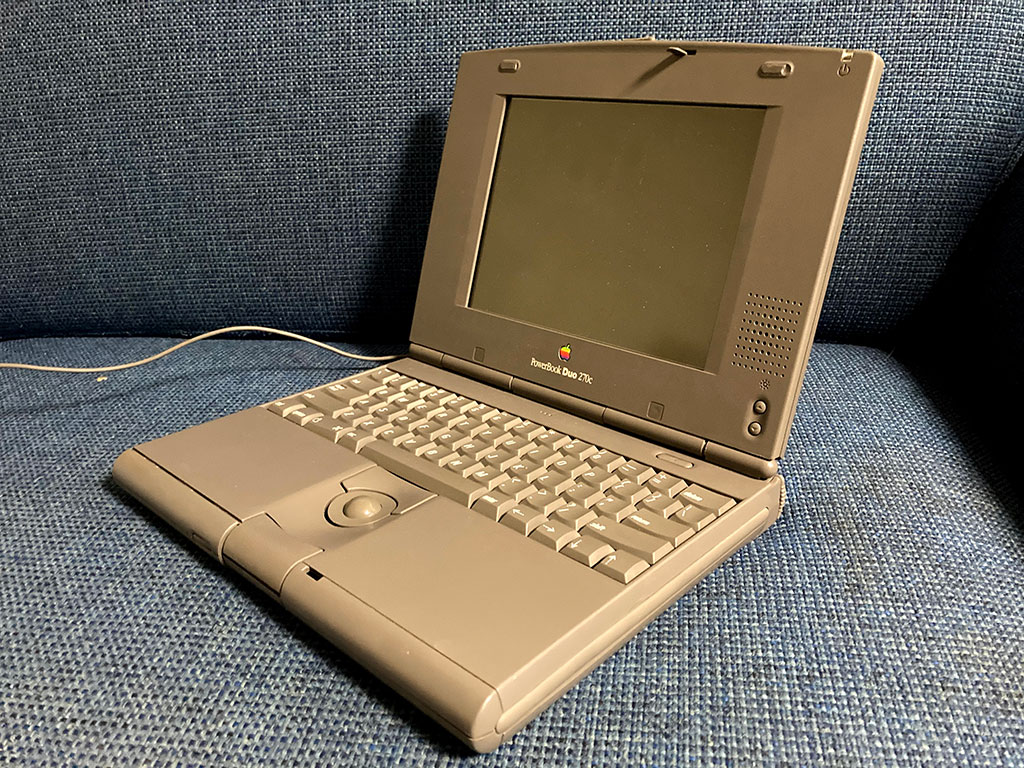
However, the laptop and accessories seem to be in decent condition. As per everyone else's advice, I'm not going to attempt to power it on until after I have it recapped.

It also has a modem installed, but I'm going to guess that the modem was a standard feature on Duo models?

duo_closed.jpg


duo_open.jpg


duo_battery.jpg


duo_modem.jpg


LaPorta

Well-known member
It was not standard, it was an added option. My 2300c has a blanked modem port there behind that leg.


sutekh

Well-known member
It was not standard, it was an added option. My 2300c has a blanked modem port there behind that leg.


Any chance you've ever had it apart? I'm dying to see what the non-modem equipped Duos have in the expansion slot. There must be something there with at least the power button on it. Could provide some useful clues for my ongoing wifi modem replacement hack attempt :)

 
Top